
Mount a rear view camera by choosing the spot, routing wires, and calibrating.
Mounting a rear view camera is one of the highest-value upgrades you can make to your car, truck, or RV. I’ve installed and tuned hundreds, and I’ll walk you through every step with simple terms and real tips. If you want a safe, clean, and pro-level result when mounting rear view camera hardware, this guide is for you.

What a rear view camera does and why it matters
A rear view camera lets you see hazards behind your vehicle that mirrors miss. It helps with parking, hitching a trailer, and spotting kids, pets, or posts. When done right, mounting rear view camera gear reduces stress and prevents costly bumps.
Modern systems add parking lines and better night vision. Many new vehicles include cameras, but older cars can gain the same safety boost. The key is proper selection, smart routing, and careful aiming.
Types of rear view cameras and how to choose
There are several common camera styles. Pick the one that fits your vehicle and use case.
- License-plate frame camera installs at the plate. It is easy and clean on sedans and SUVs.
- Lip-mount camera sits under a trunk lip or tailgate handle. It looks factory when centered.
- Surface-mount wedge sticks to flat panels. It gives more tilt and angle control.
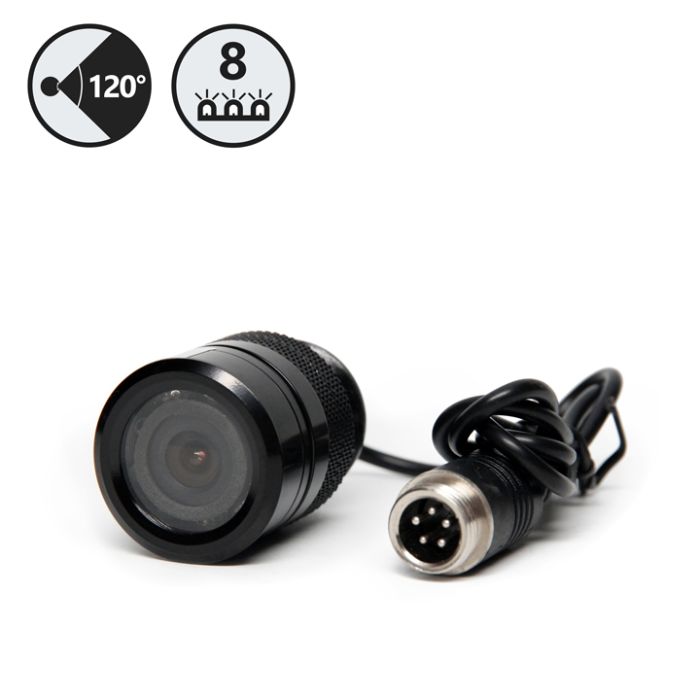
- Flush-mount requires a hole and sits almost flat. It is sleek but needs careful drilling.
- Third brake light cameras fit vans and trucks. They replace a light housing for a neat look.
- Wireless kits reduce long cable runs. They are fast for RVs but can face signal noise.
Match features to your needs:
- Field of view around 150 degrees is a good balance. Wider can distort.
- Low-light performance matters for night parking. Look for F1.8 or better lenses.
- IP67 or IP68 weather rating keeps water out.
- Choose mirror image output for rear use. Many cameras have a flip wire to switch.
If you care most about reliability, choose wired. For fast installs on long vehicles, consider digital wireless. Either way, focus on build quality. It makes mounting rear view camera jobs last.
Tools and materials you will need
A smooth install starts with the right kit on the bench.
- Screwdrivers and panel trim tools
- Drill, step bit, and painter’s tape for accurate holes
- Wire strippers, crimpers, and butt connectors
- Heat-shrink tubing and electrical tape
- Multimeter to confirm power and ground
- Fish tape or pull cord for routing
- Rubber grommets and loom for sharp edges
- Zip ties and P-clamps for tidy runs
- Silicone or butyl sealant for weatherproofing
- Add-a-circuit fuse tap and spare fuses
- Dielectric grease for connectors
These tools help you avoid rattles, leaks, and intermittent power. They are the backbone of clean mounting rear view camera work.
Plan before you start: placement, wiring, and power
Map your plan before you touch a drill. Find a camera spot near the center line, high enough to see the bumper. Avoid license plate lights that cause glare at night.
Plan the path from rear to front. Use factory grommets when you can. For power, many use the reverse light circuit for trigger and camera power. On some vehicles, that line is PWM or weak. In that case, use accessory power with a relay and use the reverse wire only as a trigger. Planning makes mounting rear view camera installs faster and safer.
Step-by-step guide to mounting rear view camera
Follow these steps for a pro result. Take your time and test as you go.
- Bench test the camera and monitor. Power with a 12V source and confirm image and image flip.
- Mark your mounting point with tape. Measure twice so the camera is centered and level.
- Drill pilot holes. If using a flush mount, use a step bit and add a rubber grommet.
- Mount the bracket or housing. Aim slightly downward so you can see the bumper edge.
- Route the cable through a grommet into the trunk or tailgate. Add a drip loop outside to shed water.
- Run video cable or pair the wireless transmitter. Keep away from power wires to reduce noise.
- Connect power. Use add-a-fuse at ACC for clean power and the reverse light for trigger. Verify ground on bare metal.
- Connect to the head unit or mirror monitor. Use the dedicated camera input and reverse trigger wire.
- Test in reverse with engine on. Adjust tilt and lines. Check at night if possible.
- Secure all wires. Zip tie along factory looms. Seal any holes with silicone.
This flow keeps mounting rear view camera installs clean and repeatable. The little details prevent future issues.
Wiring options: wired vs wireless and video standards
Wired connections are stable and clear. They avoid lag and are ideal for cars and short trucks. Wireless saves time on long RVs and buses, but may pick up interference near busy 2.4 GHz areas.
Know your video standard. Many cameras use CVBS with RCA. Some head units support HD AHD or CVI inputs for sharper images. Use ferrite cores and a clean power feed to cut noise. A small filter can cure flicker from unstable reverse lines. Smart choices here make mounting rear view camera projects more robust.
Aiming, calibration, and on-screen guidelines
A good aim makes the camera useful. Show the top of the bumper at the bottom of the frame. That gives depth for parking.
Calibrate guidelines in the menu if your head unit allows it. Set red, yellow, and green zones to match about 1.5 feet, 3 feet, and 6 feet. If you tow, set the lines to guide the hitch ball. During mounting rear view camera adjustment, keep the camera level so lines read true.
Integrating with factory or aftermarket displays
Factory radios often accept cameras with the right adapter. You may need a harness that offers a reverse trigger and video input. Some cars need a module that tells the radio a camera is present.
Aftermarket radios usually have a dedicated rear camera input and an auto-switch pin. Mirror monitors and dash screens are easy add-ons. Check settings for image flip, delay, and parking lines. Solid integration is part of mounting rear view camera systems that feel factory.
Weatherproofing and cable management
Water and vibration are the enemies. Use IP-rated cameras and seal all entry points. Add dielectric grease to outdoor plugs.
Route cables along stock harness paths. Avoid hinge pinch points in hatchbacks. Use loom where wires pass through metal. Tidy routing is a big reason mounting rear view camera installs last for years.
Common mistakes when mounting rear view camera and how to avoid them
I see the same errors often. You can avoid them with a simple checklist.
- Off-center mounts cause skewed lines. Mark the center before drilling.
- Mounting too low shows only the road. Tilt up until the bumper edge appears.
- Powering only from the reverse bulb can flicker. Use ACC with a relay if needed.
- No drip loop invites water into the cabin. Always create a loop outside.
- Loose grounds cause dropouts. Sand to bare metal and bolt tight.
- Cable near spark or fuel pump lines adds noise. Route video away from high-current wires.
These fixes keep mounting rear view camera results crisp and reliable.
Troubleshooting checklist
If the screen is blue or black, confirm 12V at the camera and a solid ground. Check the reverse trigger at the head unit with a multimeter.
If the image rolls or shows noise, shorten video cable runs and add ferrite cores. If the picture is mirrored wrong, switch the camera’s flip wire. Dim night images may need a better low-light camera or less glare from plate lights. Test, adjust, then lock it down. This is the final polish in mounting rear view camera work.
Legal, privacy, and warranty notes
Do not block the license plate or any lights. Some states fine for obstruction. Recording video may be covered by local privacy rules, so check them if you plan to record.
If your vehicle is leased or under warranty, avoid cutting factory wires. Use plug-in harnesses and fuse taps. Safety rules say a camera helps, but you must still look and use mirrors. A careful approach keeps mounting rear view camera installs compliant and safe.
Maintenance and long-term care
Clean the lens with car-safe glass cleaner. A light hydrophobic coating helps keep rain off. Avoid harsh abrasives.
Check zip ties and grommets every few months. Retighten grounds if you see noise. If the tailgate or trunk was hit, re-aim the camera. A little care keeps mounting rear view camera performance sharp.
Cost, time, and skill level
Expect to spend 40 to 150 dollars for a quality camera. Add 60 to 300 dollars for a monitor or head unit if needed. Wiring and small parts add a bit more.
Plan two to four hours for a first-time install. Complex vehicles or flush mounts take longer. A pro install runs 150 to 400 dollars. If wiring scares you, hire help. Smart choices make mounting rear view camera upgrades fit your budget and skill.
Real-world lessons from the shop
On a minivan, a plate camera looked easy but had night glare from bright plate lights. I swapped to a lip-mount and the starburst glare vanished. Small changes like this make mounting rear view camera results shine.
On a pickup, the owner wanted the hitch dead center in the frame. We used a tailgate handle camera and fine-tuned tilt with washer shims. It made solo trailer hookups simple. On a compact car with wireless, city Wi‑Fi caused dropouts. A wired run fixed it. Real tests matter more than spec sheets when mounting rear view camera hardware.
Frequently Asked Questions of mounting rear view camera
Do I need to drill holes to install a rear view camera?
Not always. Many license-plate and surface-mount cameras use existing screws. Flush mounts need a hole for the cleanest look.
Should I power the camera from the reverse light?
You can, but some cars use pulsed voltage that causes flicker. A relay from accessory power with a reverse trigger is more stable.
How high should I mount the camera?
Aim for mid-height on the rear and as close to center as possible. Show a thin slice of the bumper at the bottom of the image.
Can I use a wireless camera on a long RV?
Yes, use a digital wireless kit with strong antennas. Expect some lag, and keep transmitters away from metal walls when possible.
Why is my image blurry at night?
It could be glare from plate lights or a weak sensor. Tilting the camera and choosing a better low-light camera will help.
How do I get the parking lines to match real distance?
Use your head unit’s calibration menu and a tape measure. Park with known markers at 1.5, 3, and 6 feet, then align the lines.
Will a rear camera work with my factory radio?
Many will with the right adapter or module. Check for a camera input and a reverse trigger wire in your radio’s specs.
Conclusion
You can install a rear view camera that looks factory and works every time. Plan your route, pick the right mount, aim with care, and test with a multimeter. The result is safer backing and easier parking.
Take the next step today. Choose your camera, gather tools, and schedule the job. Have a question or a tip from your own mounting rear view camera project? Share it in the comments and help the next driver park with confidence.